
New to sewing? Follow Carli's 12 calm lessons— no experience needed.
Mend & Makewith CarliJoin free

Carli's practical sewing guide

Find the sewing help you need—without digging.

Search a problem, fabric, tool or project. Start with a quick answer, then open the full visual lesson when you're ready.

27 helpful guides ready to explore

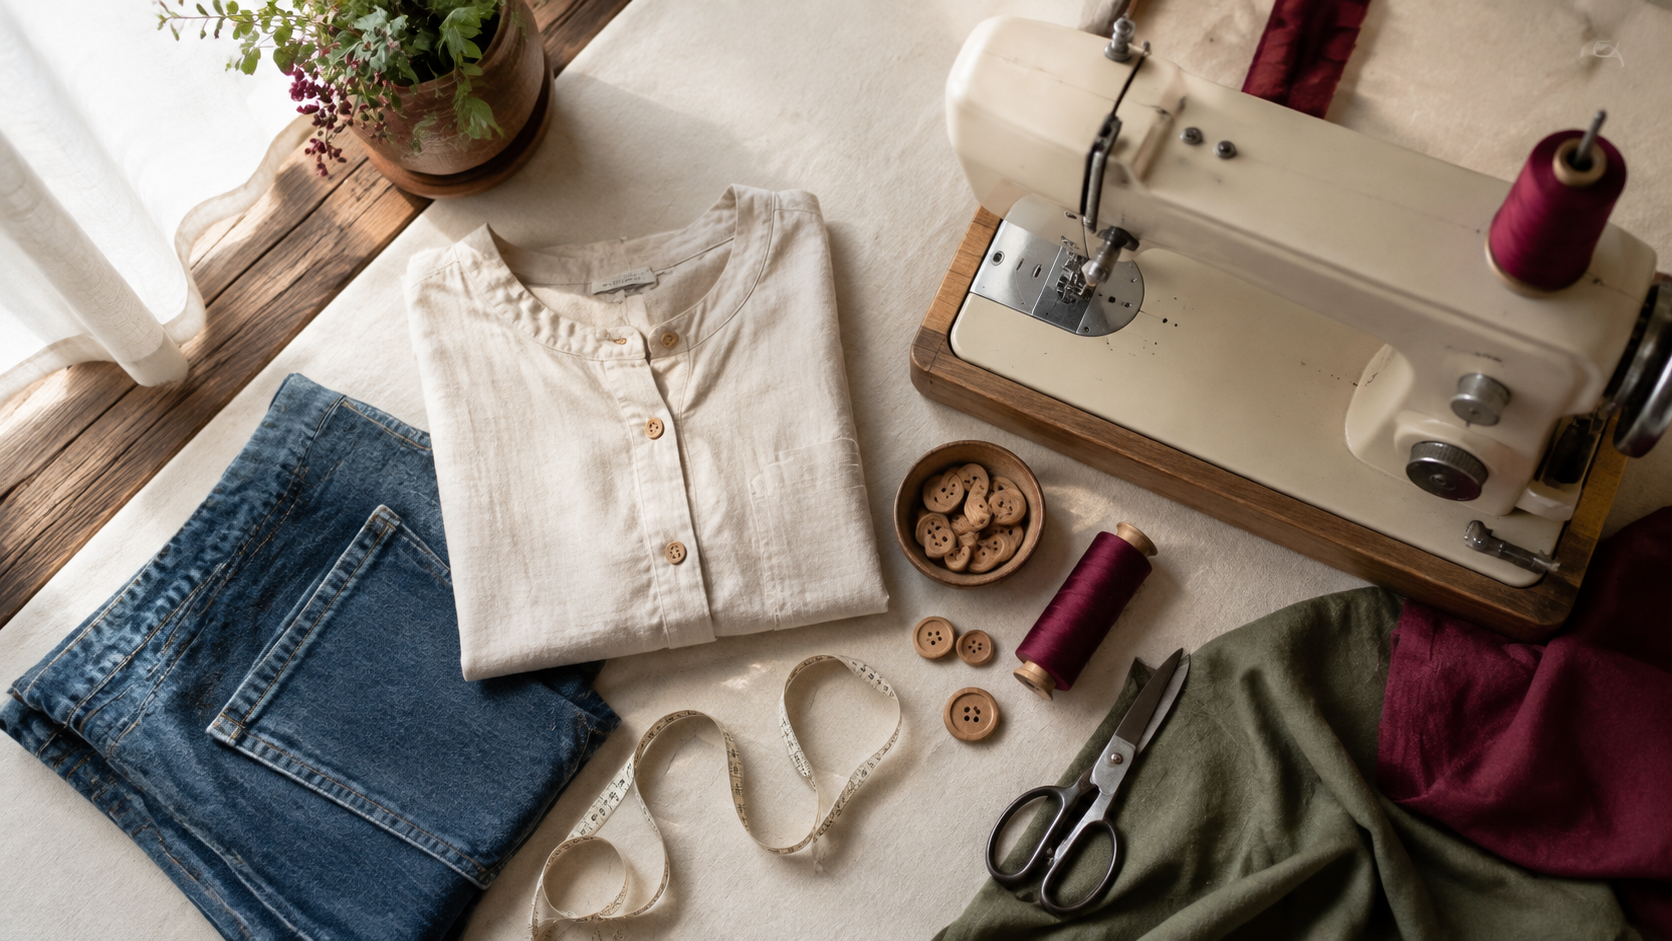
A welcoming sewing table with a machine, garments, thread, buttons, measuring tape and scissors
START WITH WHAT YOU HAVERepair. Learn. Make. Reuse.

Browse the library

Choose a path, not a maze.

Every topic uses plain language, small steps and a clear next action. Start anywhere.

Searchable sewing knowledge

Most useful guides

Start here 30 min

Your first 30 minutes of sewing

A calm first session: learn the controls, thread safely and practise without risking a favourite garment.

First timerQuick steps
  1. 1

    Read the safety and threading pages in your machine manual.

  2. 2

    Thread with the presser foot raised and fit a fresh universal needle.

  3. 3

    Sew marked straight lines on folded woven scrap at a slow speed.

Open the related visual tool
Start here 10 min

Thread a sewing machine in the right order

Follow the path without skipped guides so the upper thread can form an even stitch with the bobbin thread.

First timerQuick steps
  1. 1

    Raise the needle and presser foot before starting.

  2. 2

    Follow every printed guide and make sure the take-up lever catches the thread.

  3. 3

    Thread the needle in the direction shown by your manual, then hold the tail.

Open the related visual tool
Start here 8 min

Wind and load a bobbin

Wind evenly, insert in the correct direction and seat the thread in the bobbin tension path.

First timerQuick steps
  1. 1

    Use the same general-purpose thread above and below for practice.

  2. 2

    Wind at a steady speed so the bobbin fills evenly.

  3. 3

    Insert it in the case direction marked on your machine and pull into the slot.

Open the related visual tool
Start here 15 min

Sew a straight seam

Use the machine guide—not the needle—as your visual target and let the feed dogs move the fabric.

First timerQuick steps
  1. 1

    Set a straight stitch near 2.5 mm and test on a double layer.

  2. 2

    Align the raw edge with the seam-allowance guide on the needle plate.

  3. 3

    Look ahead at the guide, steer gently and backstitch only at the ends.

Open the related visual tool
Start here 10 min

Fix a thread nest under the fabric

Loops underneath usually point to an upper-threading problem, not a bobbin-tension emergency.

BeginnerQuick steps
  1. 1

    Stop, raise the needle and cut the work free without pulling.

  2. 2

    Remove and rethread the top thread with the presser foot raised.

  3. 3

    Hold both thread tails for the first three stitches and test again.

Open the related visual tool
Start here 5 min

Match needle, thread and fabric

A simple supply match prevents skipped stitches, broken thread and damaged fabric.

BeginnerQuick steps
  1. 1

    Use a universal 80/12 needle for stable midweight woven cotton.

  2. 2

    Use a denim needle for jeans and a ballpoint or stretch needle for knits.

  3. 3

    Test the full combination on folded scrap from the actual project.

Open the related visual tool
Fix & alter 8 min

Sew a button back on

Replace a missing flat button securely while leaving enough room for the buttonhole fabric.

First timerQuick steps
  1. 1

    Match the button position to the remaining buttons and mark the centre.

  2. 2

    Anchor doubled thread on the wrong side and sew through the holes several times.

  3. 3

    Wrap thread beneath the button to form a small shank, then knot on the back.

Open the related visual tool
Fix & alter 12 min

Close a ripped seam

Repair an opened seam along the original stitch line without changing the garment’s shape.

First timerQuick steps
  1. 1

    Turn the garment inside out and remove loose thread only.

  2. 2

    Match the original seam edges and pin beyond both ends of the opening.

  3. 3

    Stitch along the old line, overlapping intact stitches at each end.

Open the related visual tool
Fix & alter 25 min

Patch a hole in jeans from the inside

Support weak denim with a rounded patch that extends beyond every edge of the damage.

BeginnerQuick steps
  1. 1

    Trim only loose fibres; do not enlarge the hole.

  2. 2

    Place a prewashed denim patch behind the damage with at least 2 cm overlap.

  3. 3

    Stitch repeated lines in the direction of the denim weave, catching solid fabric.

Open the related visual tool

Learn by doing

Carli's interactive sewing workshop

Search gives you a fast answer. The workshop helps you perform the skill correctly, one picture and one decision at a time.

12 guided lessons27 quick guides3 cutting maps

Quick start

What needs help?

Pick the problem you see. We’ll take you to the right lesson.

12 calm lessons

Learn in the right order.

0% Start with lesson 1

Lesson 01 of 12

Build a basic sewing kit

Start with the eight tools you will actually use.
8 min
You needFabric shears · Thread snips · Pins or clips · Hand needles · Machine needles · Polyester thread · Seam ripper · Tape measure
FABRIC SHEARSSNIPSPINS + CLIPSTHREAD + NEEDLESMEASURE + MARK1SCISSORS
Solid = keep / stitch Dashed = cut / guide Red = avoid

Step 1 of 4

Choose two scissors

Use full-size fabric shears for cloth and small snips for thread.

Before moving on

Both pairs open smoothly and feel comfortable.

Important: Keep fabric scissors for fabric only. Paper dulls them quickly.

Safe cutting guide

See exactly what comes out.

These are teaching diagrams. The dashed cut line always sits fully inside the green usable area.

CUT ONE LAYER ONLY
Green = usable fabric Red = avoid Dashed = cut line

Best piece to harvest

T-shirt body panel

Useful for
Cleaning cloth, pocket, patch, small bag
Expected size
About 24 × 22 cm
  1. 1

    Wash, dry, and press the garment.

  2. 2

    Circle damage. Keep it outside the green area.

  3. 3

    Open a seam if needed so one layer lies flat.

  4. 4

    Copy the dashed line, check underneath, and cut one layer.

Avoid the neckline, armholes, side seams, print, stains, and thin fabric.

The rule that prevents mistakes: Draw the finished shape first. Add seam allowance outside it. Cut only the outside dashed line.

The Mend & Make promise

Useful guidance. No mystery language.

Optional sign-up

Explore first.
Join when you're ready.

The guide library stays open when you arrive. Sign-up sits here so it never blocks the next useful answer.

Join Carli's sewing space

Sign up only when you choose. You can keep browsing the guides and lessons without an account.

Sign up free